
6 Tips On Creating Your Own Explainer Video
Natalie Ediger, November 1, 2016· Digital Learning

Making an explanatory video yourself is not witchcraft. What you need is some time, leisure and the right tools. Here are a few tips to make your explanatory film a complete success.
1. Look at your object
Before you start writing a speech text wildly, you should give it some thought. First, about the audience – the recipient of your video – and second, about the topic itself.
The target group
You want to explain something to a certain group. This works best if you think your way into this target group. It is best to draw a model person on a sheet of paper and add the most important attributes. For example, the age, gender, profession, interests and, above all, previous knowledge on your topic. After all, you don’t want to bore or overtax your audience.
The themes
Like the target group, you should also examine your topic carefully. What exactly are the most important characteristics, what are the advantages – especially in relation to your target group?
2. Develop ideas
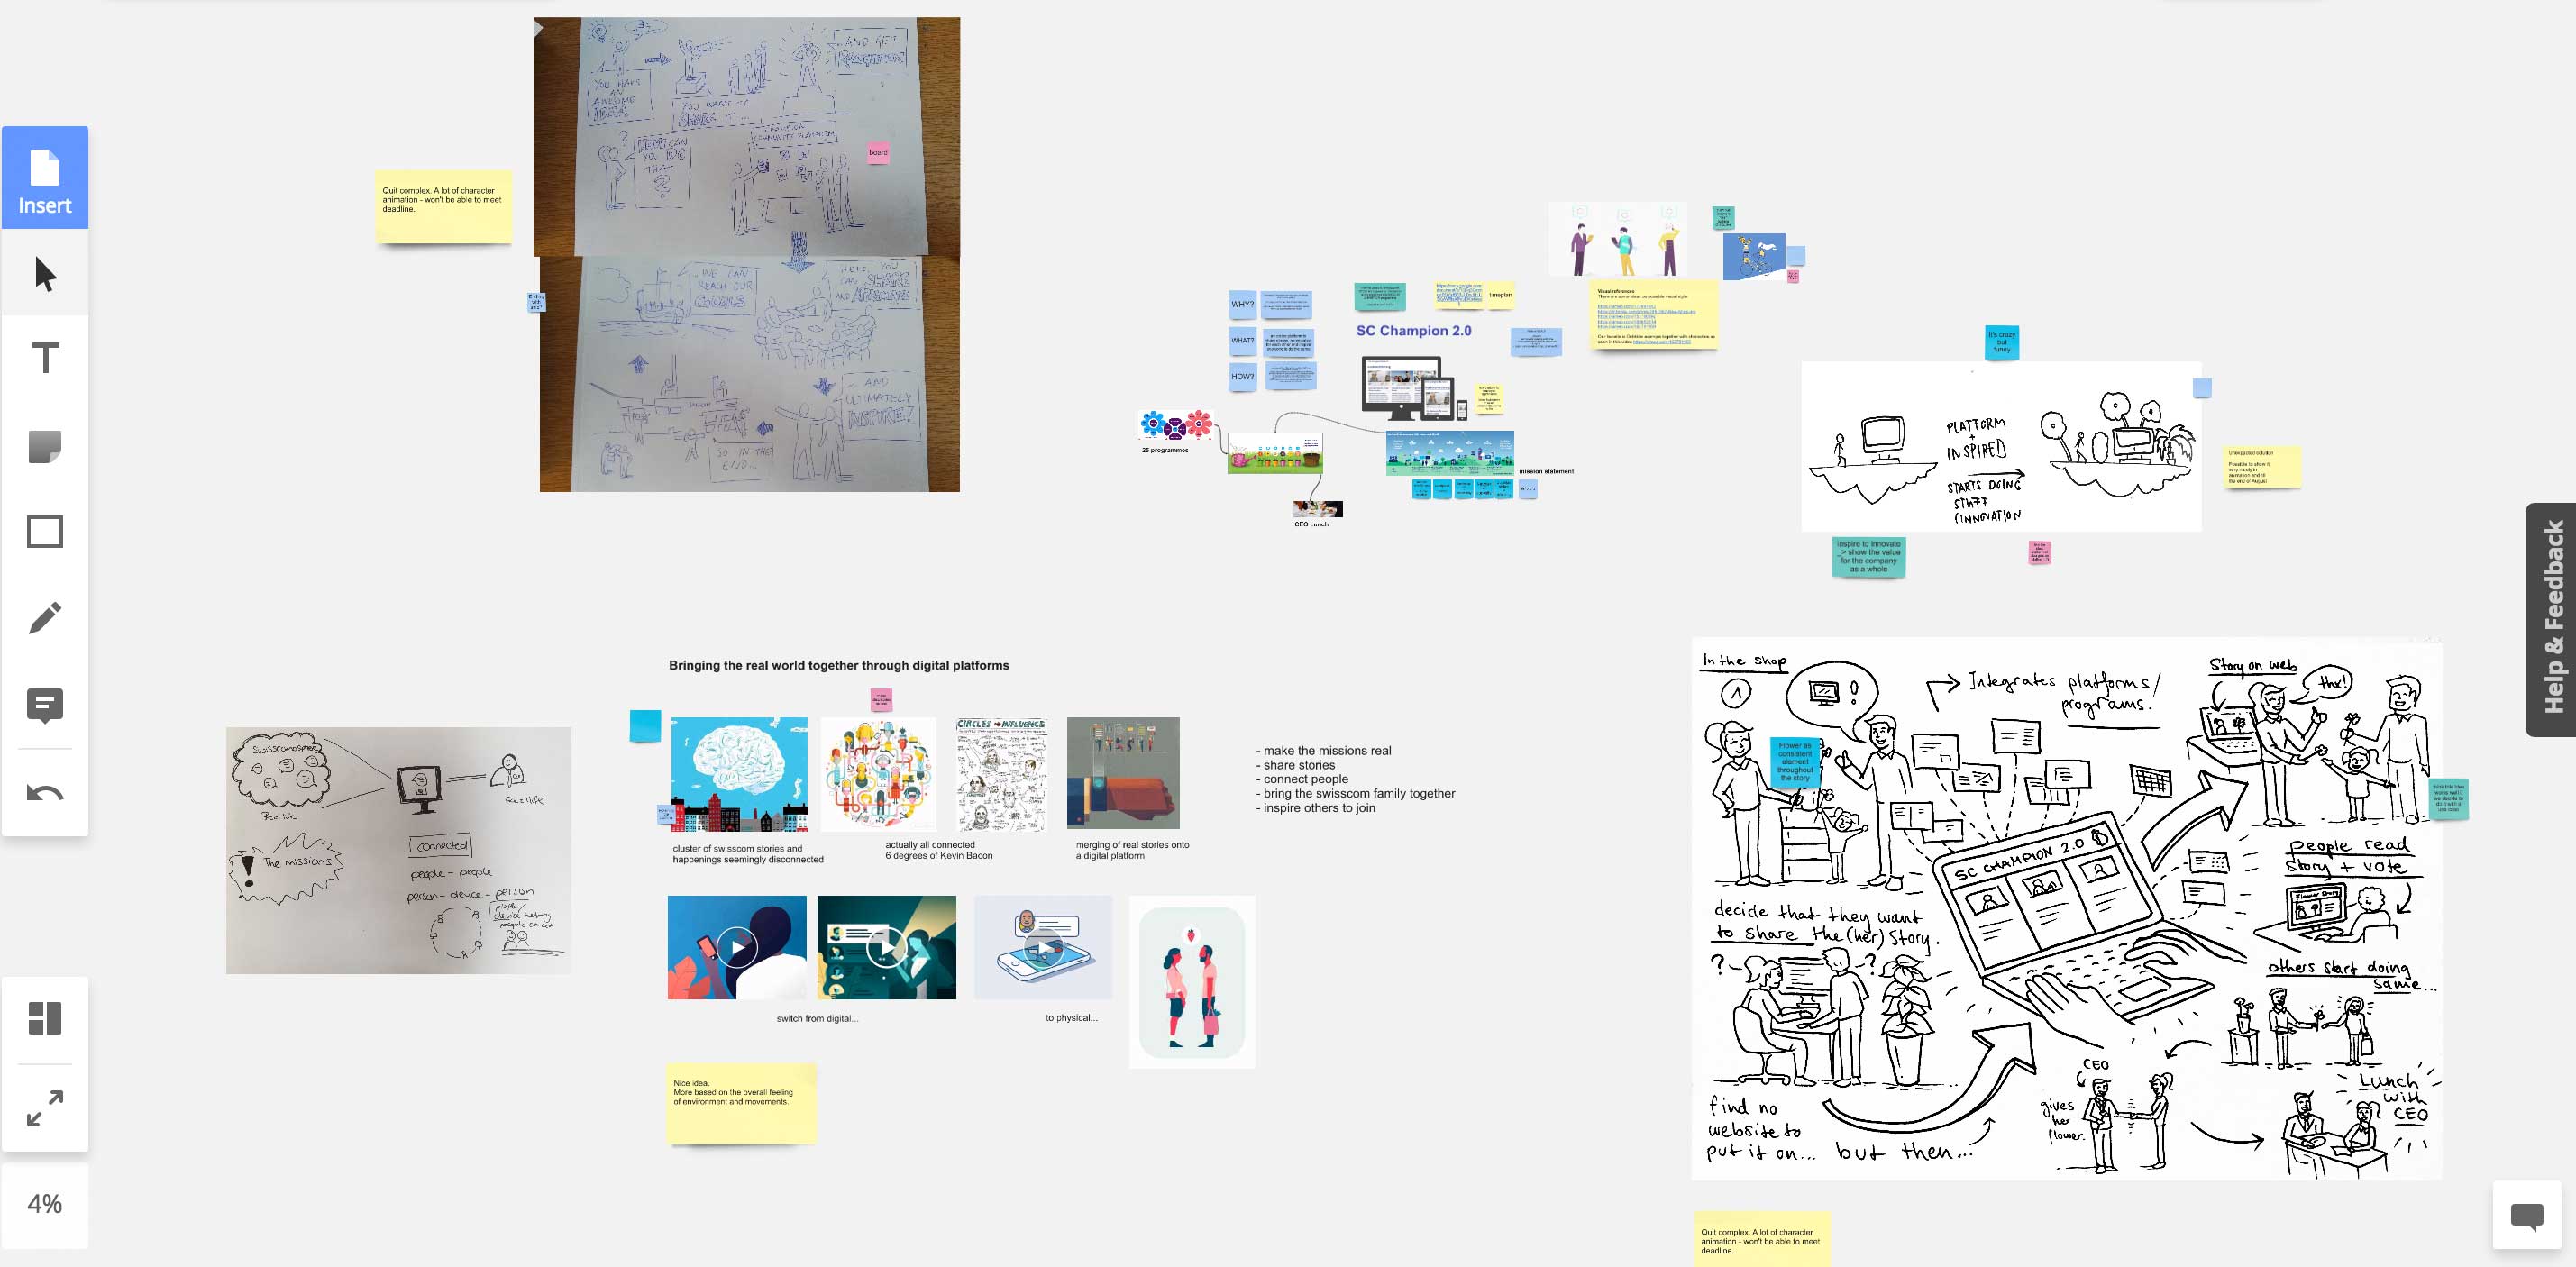
With the background knowledge that you have now acquired, you can now go off and develop ideas. Rarely is the first the best. Put yourself in the shoes of the person you developed in the previous step and think about how she would like to get the topic explained. Sketch out several ideas. So that the best idea really comes out. We usually use realtimeboard for this.
3. Write a spoken text
You decided on a concept? Great. Then you can start writing the voice over now. That’s the text that can be heard in the explanatory film afterwards. You should always keep this in mind when writing and therefore use the shortest possible sentences. Broadcasters, for example, try not to use subordinate clauses and limit the length of sentences to less than 18 words. If you observe these principles, there is no danger of confusing the listeners. And always follow the principles of storytelling!
4. Create a storyboard
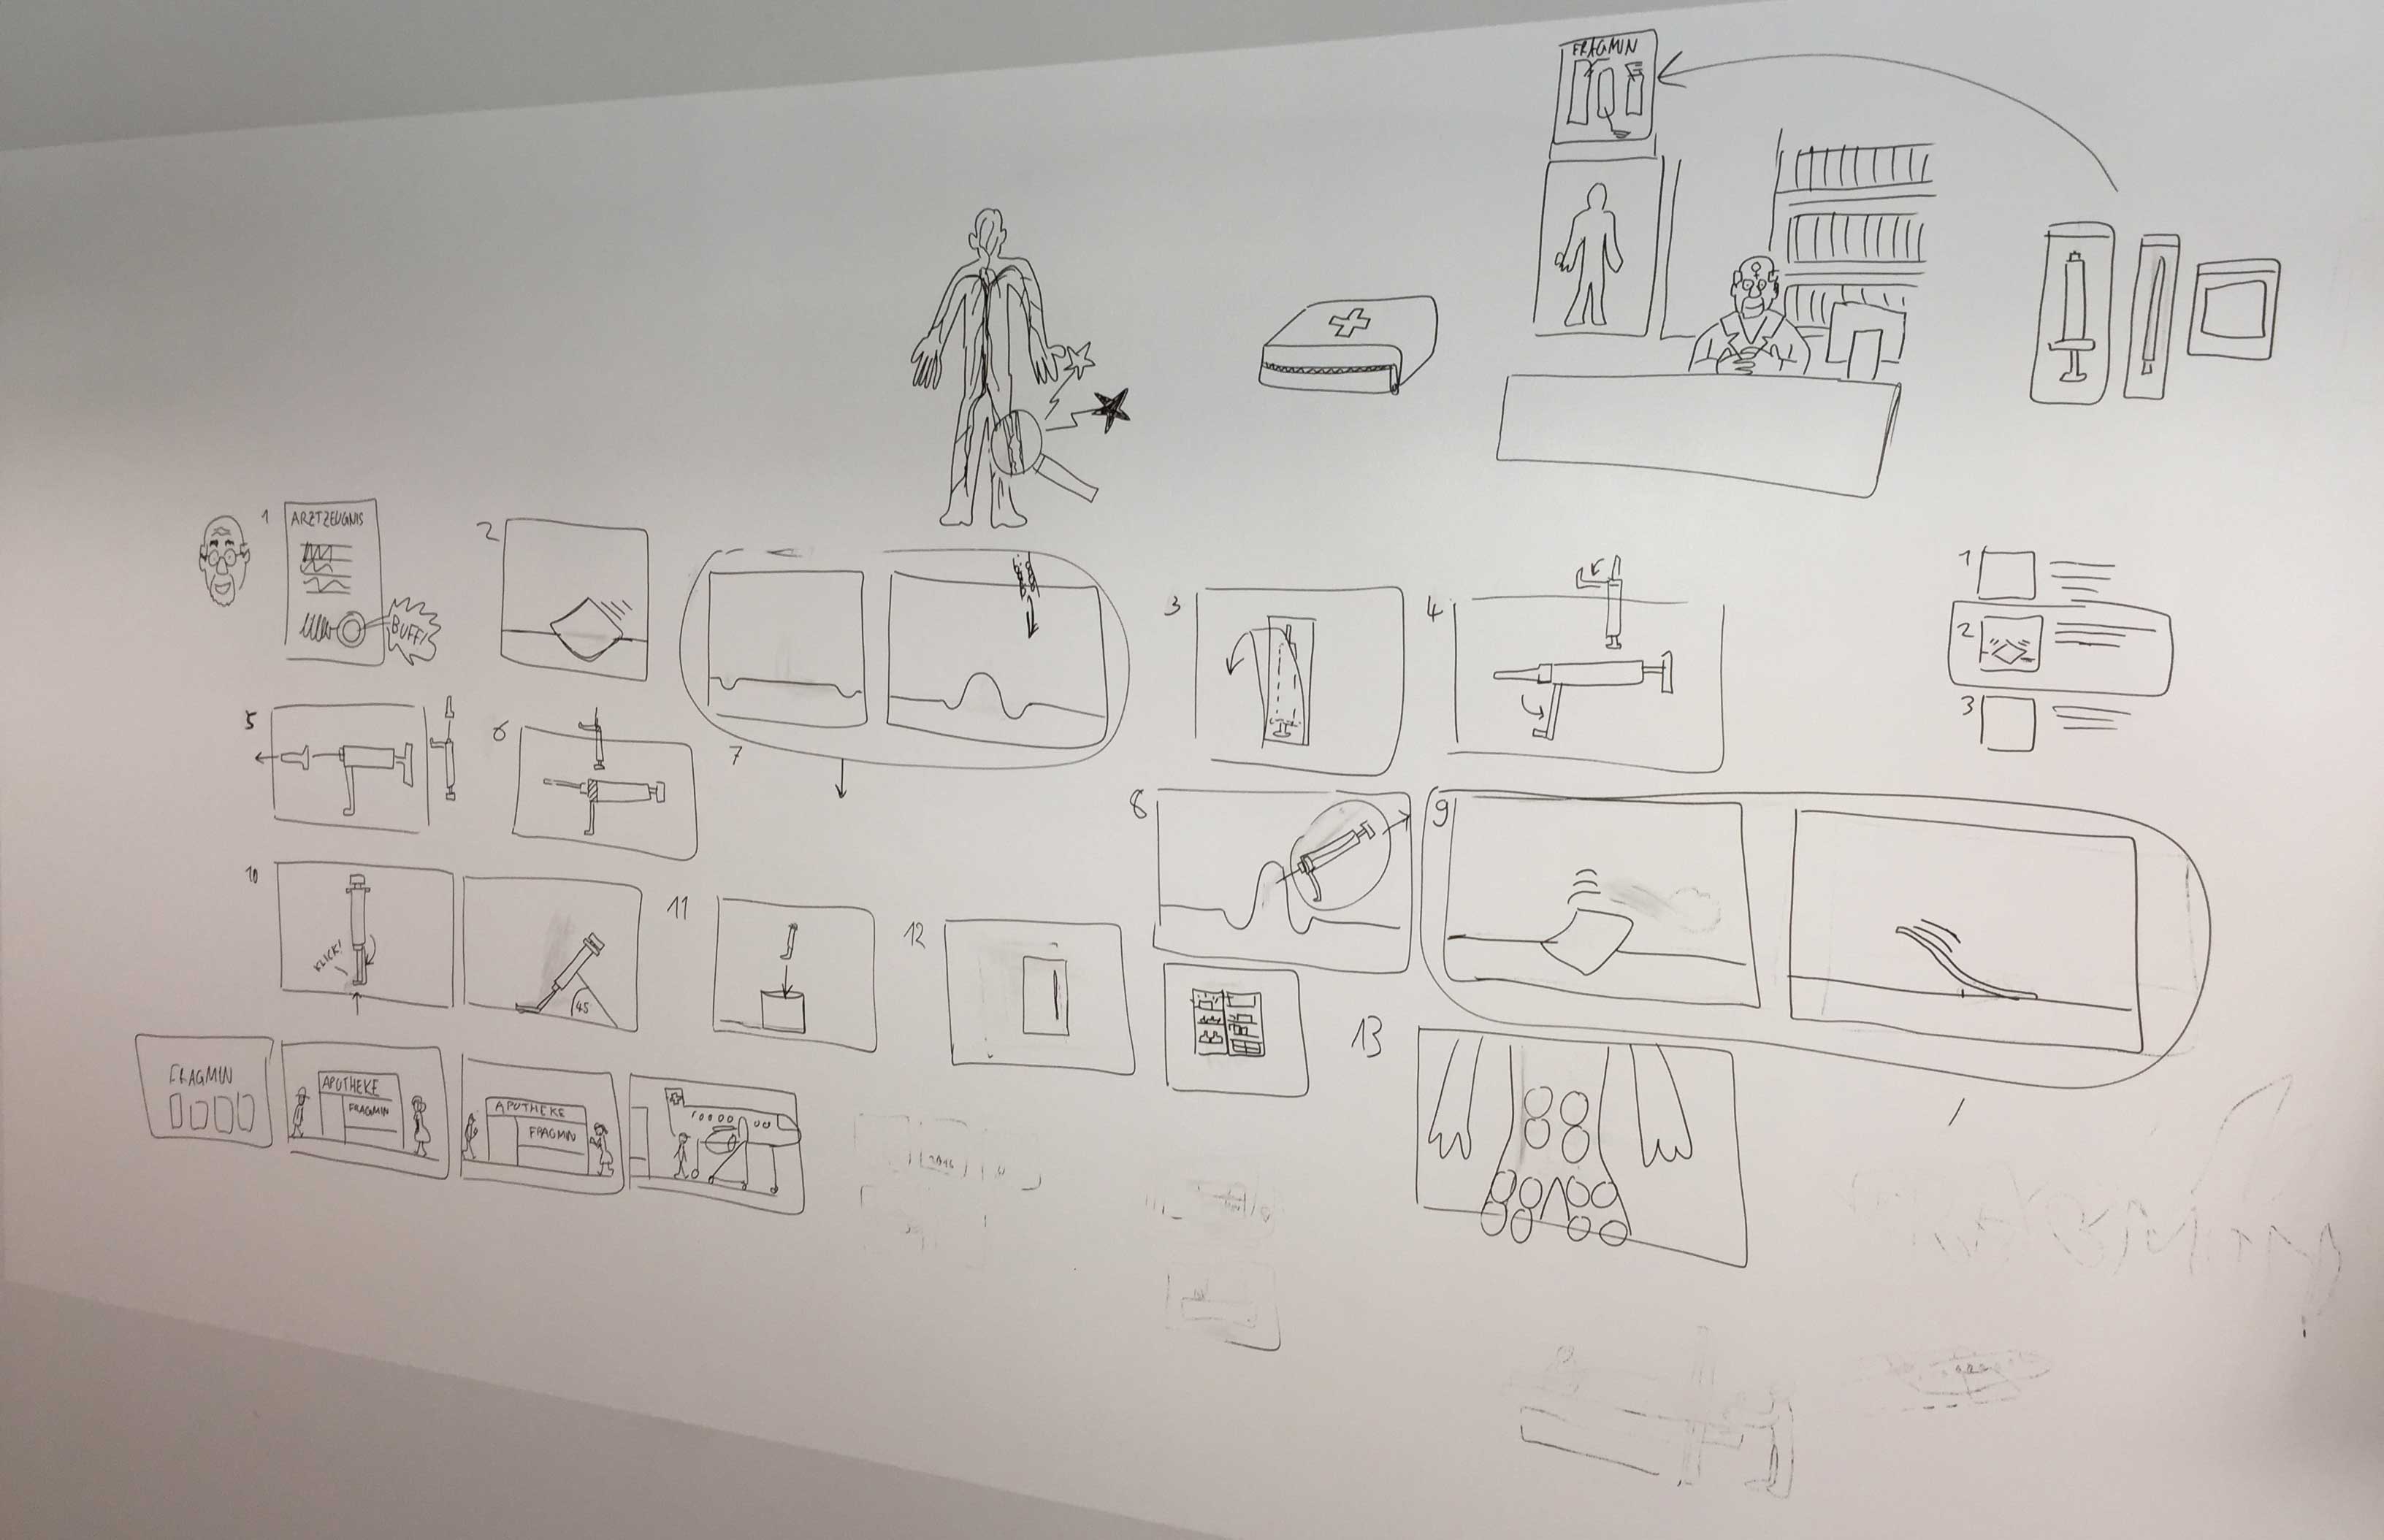
Your speech is finished and you’re happy with it? Then it’s time for the storyboard. You don’t have to be a sign genius for that. It’s enough if you can see what you’re drawing.
You take, like on the graphic, the single paragraphs of your text and develop pictures, which support the spoken words. Because it’s a proven fact that content that is both visually and audibly recorded is easier to access and stay in your memory. The storyboard is an inevitable step, by the way. So you can immediately find out whether your image ideas fit the story and you don’t have to discard elaborately created illustrations afterwards.
5. Record Voice Over
If you’re not a professional speaker, you probably don’t have a small recording studio at home. Depending on your video needs, you can still record yourself with your computer – or invest some money in a professional. You can easily find it on the Internet.
For example on:
bodalgo.de
voice123.com
voicebase.de
6. Drawing and animating
Similar to speech text, drawing and animation are similar. If you’re not a motion designer or whiteboard artist, animating your own clip will take a lot of effort. Unless you use one of these online tools:
With the help of these webapps you can easily create your own explanatory film. You will be offered ready-made drawings to suit your theme, which you can then use.
I hope you have picked up some helpful tips in the last 5 minutes. If you have any further questions, please feel free to use the comment function.
Interested in more news & opinions about design and storytelling? Then subscribe to our newsletter